Approve Entra Application
Introduction
The aim of this step is to attach your Entra ID tenant to the Biza-managed Biza ID application so your staff can log in to Biza ID with their Entra Identity.
Prerequisites
- Before users can be onboarded to Biza ID, our admin team must perform some configuration steps, requiring your
base_domain(see the Getting Started Guide). If you haven’t already done so, please contact your Biza representative to ensure things are ready. - Identify your company's Global Entra ID administrator, or an administrator with appropriate permissions, who will be required to approve admin consent (Step 4).
Procedure
Steps 1-3 carried out by any user from your organisation. Your global Entra ID administrator must carry out all others.
Your global Entra ID administrator should go to Entra ID > Enterprise Applications > Consent and permissions > Admin consent settings and ensure that the Admin consent requests radio button is toggled to ‘Yes’. If the radio button is toggled to ‘No’, your global Entra ID will need to log in to Biza Guides with their Admin account to trigger the consent (see step 3 below).
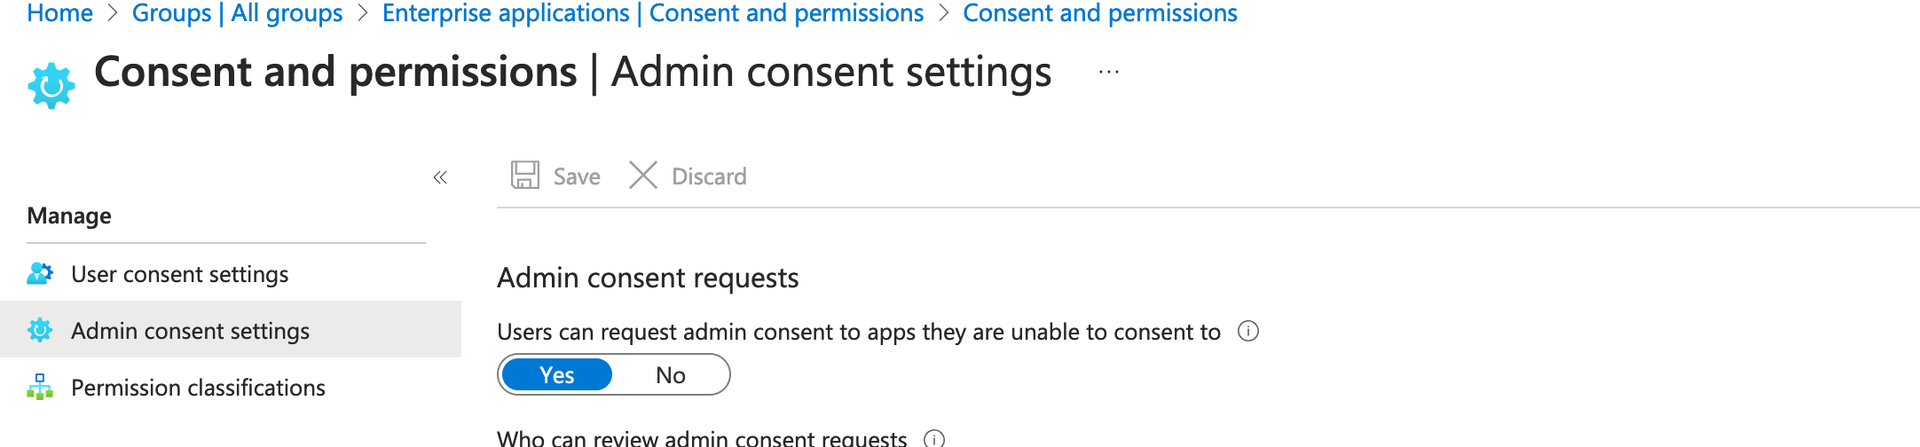
Overview Screen
Procedure
1. Go to https://vtt.cdr.zone, enter nobody@biza.io into the email address field and click Continue.
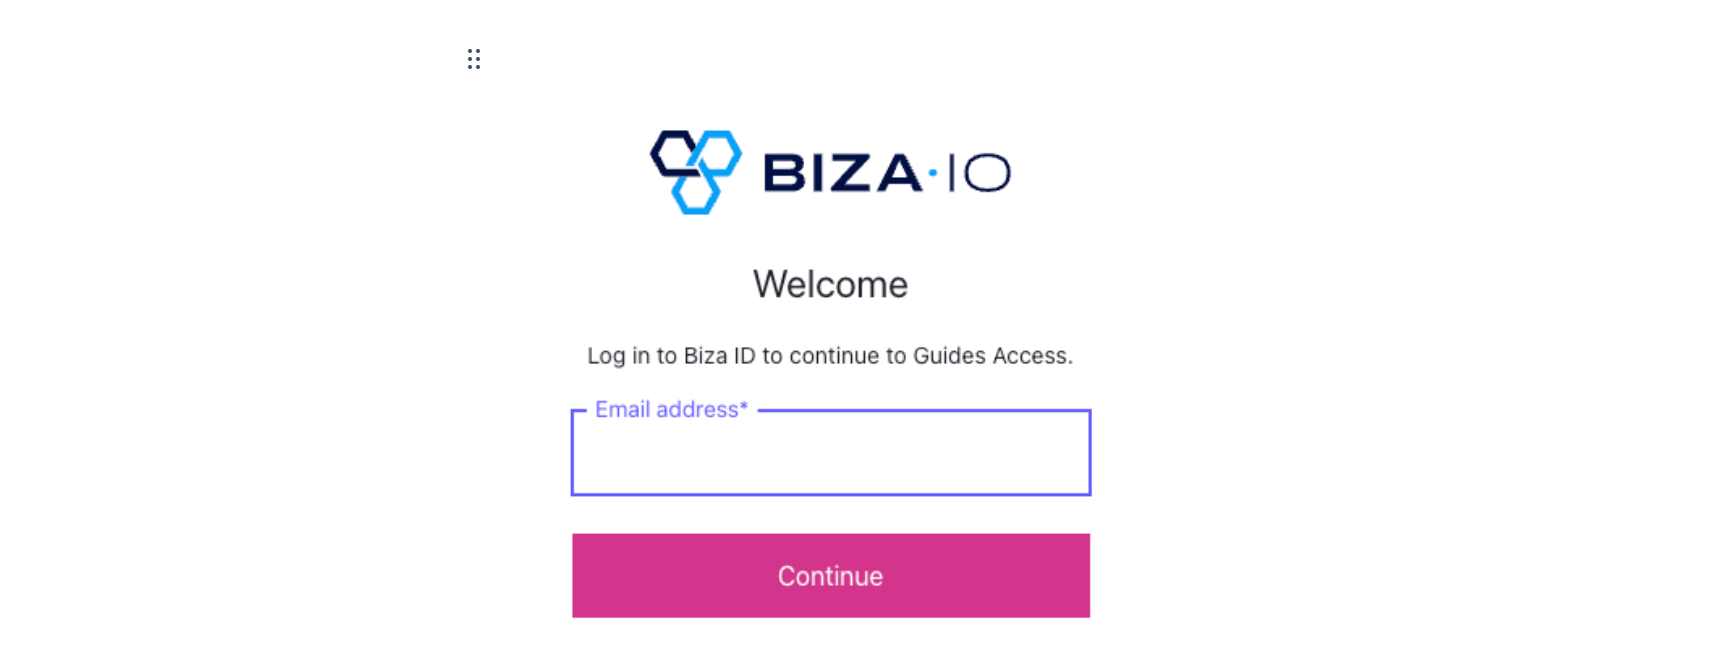
Biza ID log in screen
2. Enter your company email address into the Microsoft sign-in box.
3. You will be prompted to gain Admin approval. Provide a justification for the request and click “Request approval”.
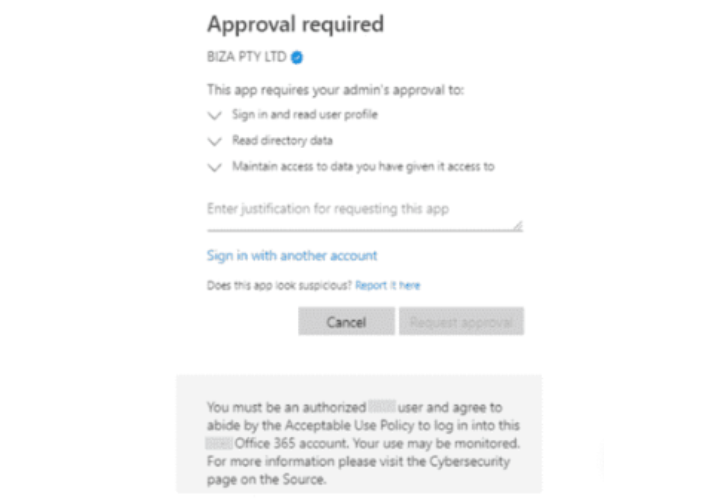
Administrator approval request
4. [Entra ID Administrator] Approve the pending admin consent. Log in to Entra ID and navigate to Applications > Activity > Admin consent requests. An admin request will appear under pending consent requests in Entra ID.
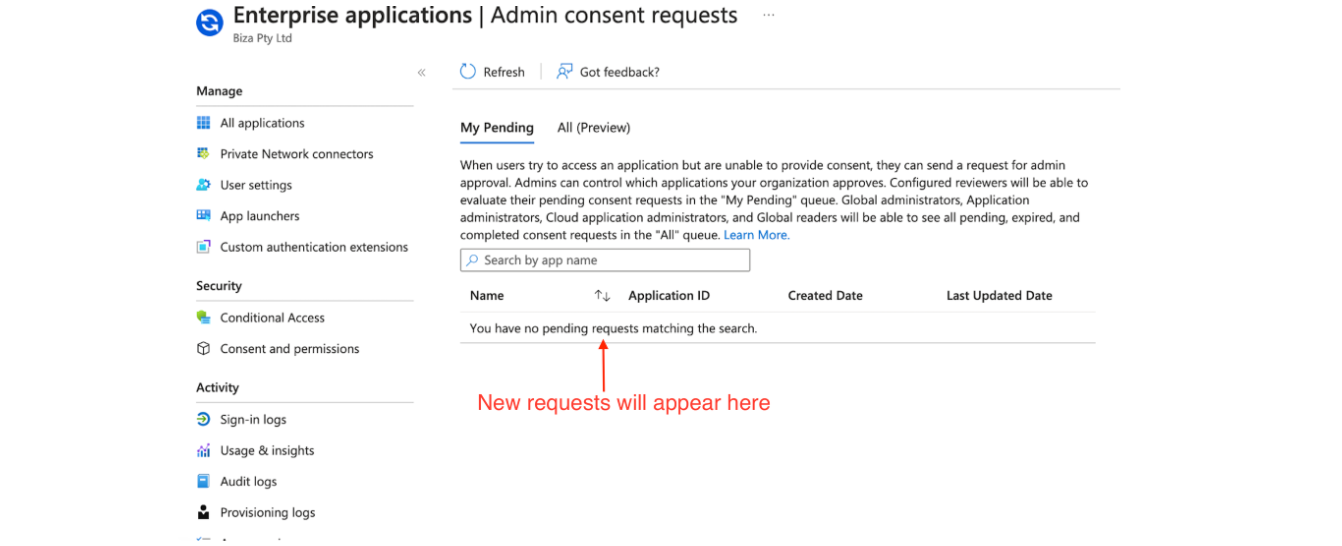
Administrator consent requests
5. [Entra ID Administrator] After providing consent, the Biza ID application will be registered under Enterprise applications.

Enterprise applications list