Create a Product
Learn how to create a product in Product Manager (PM)
Step-by-step instructions
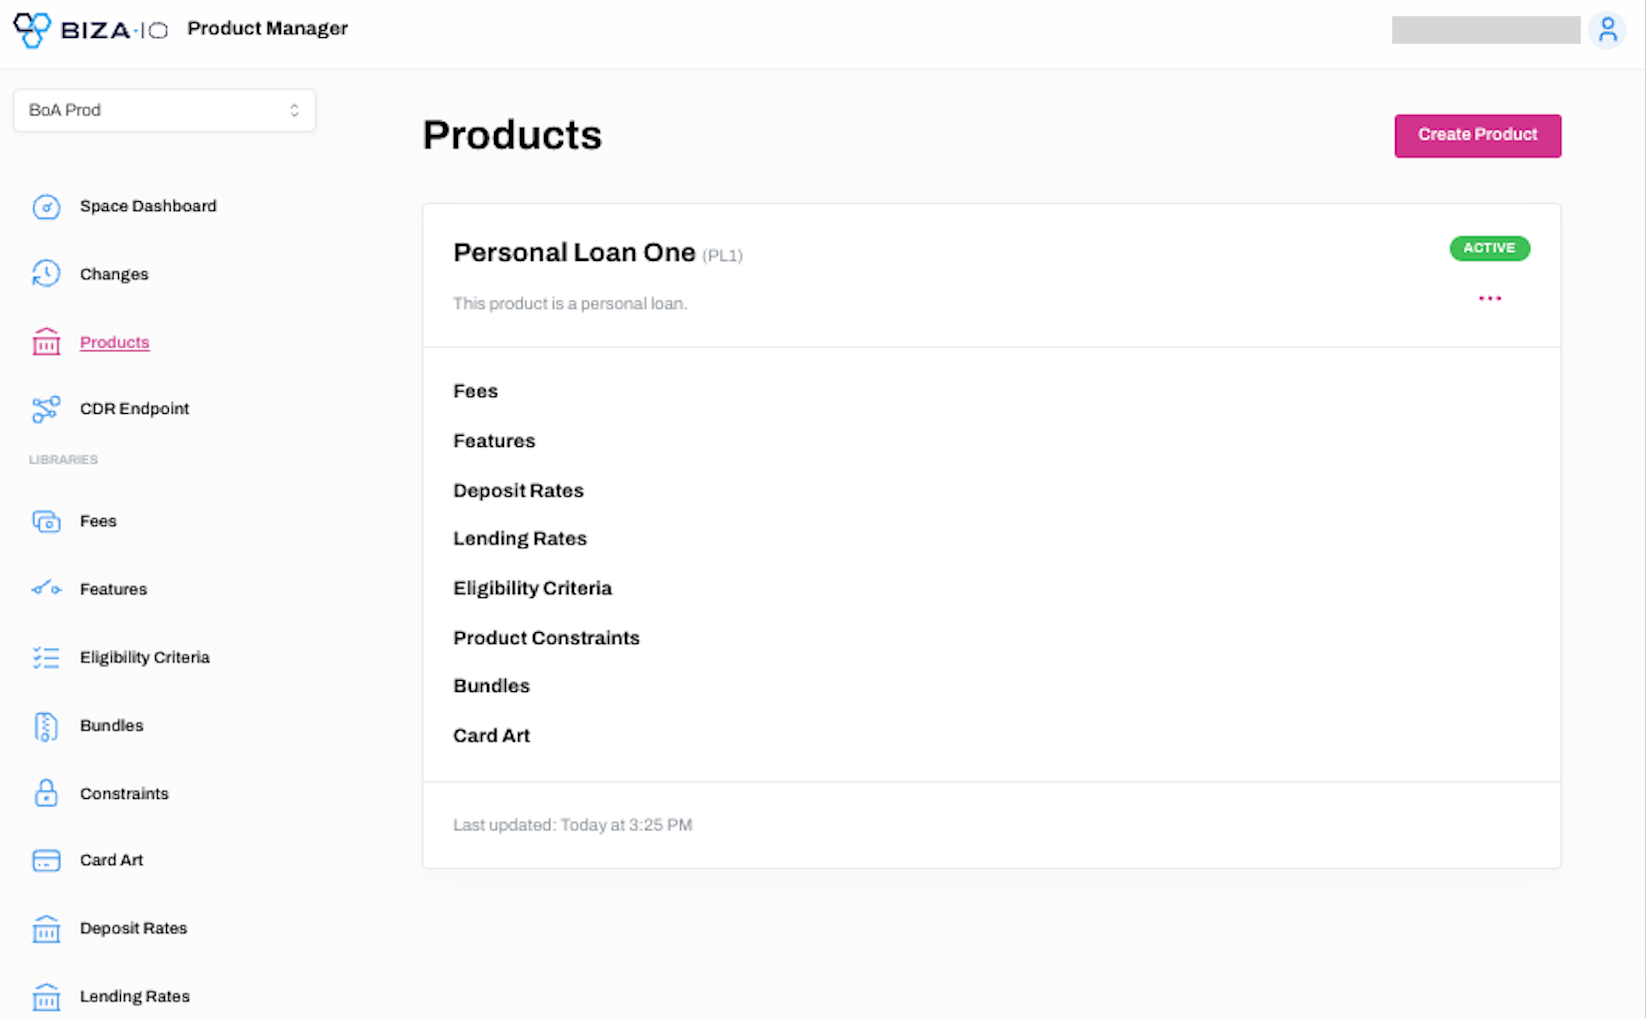
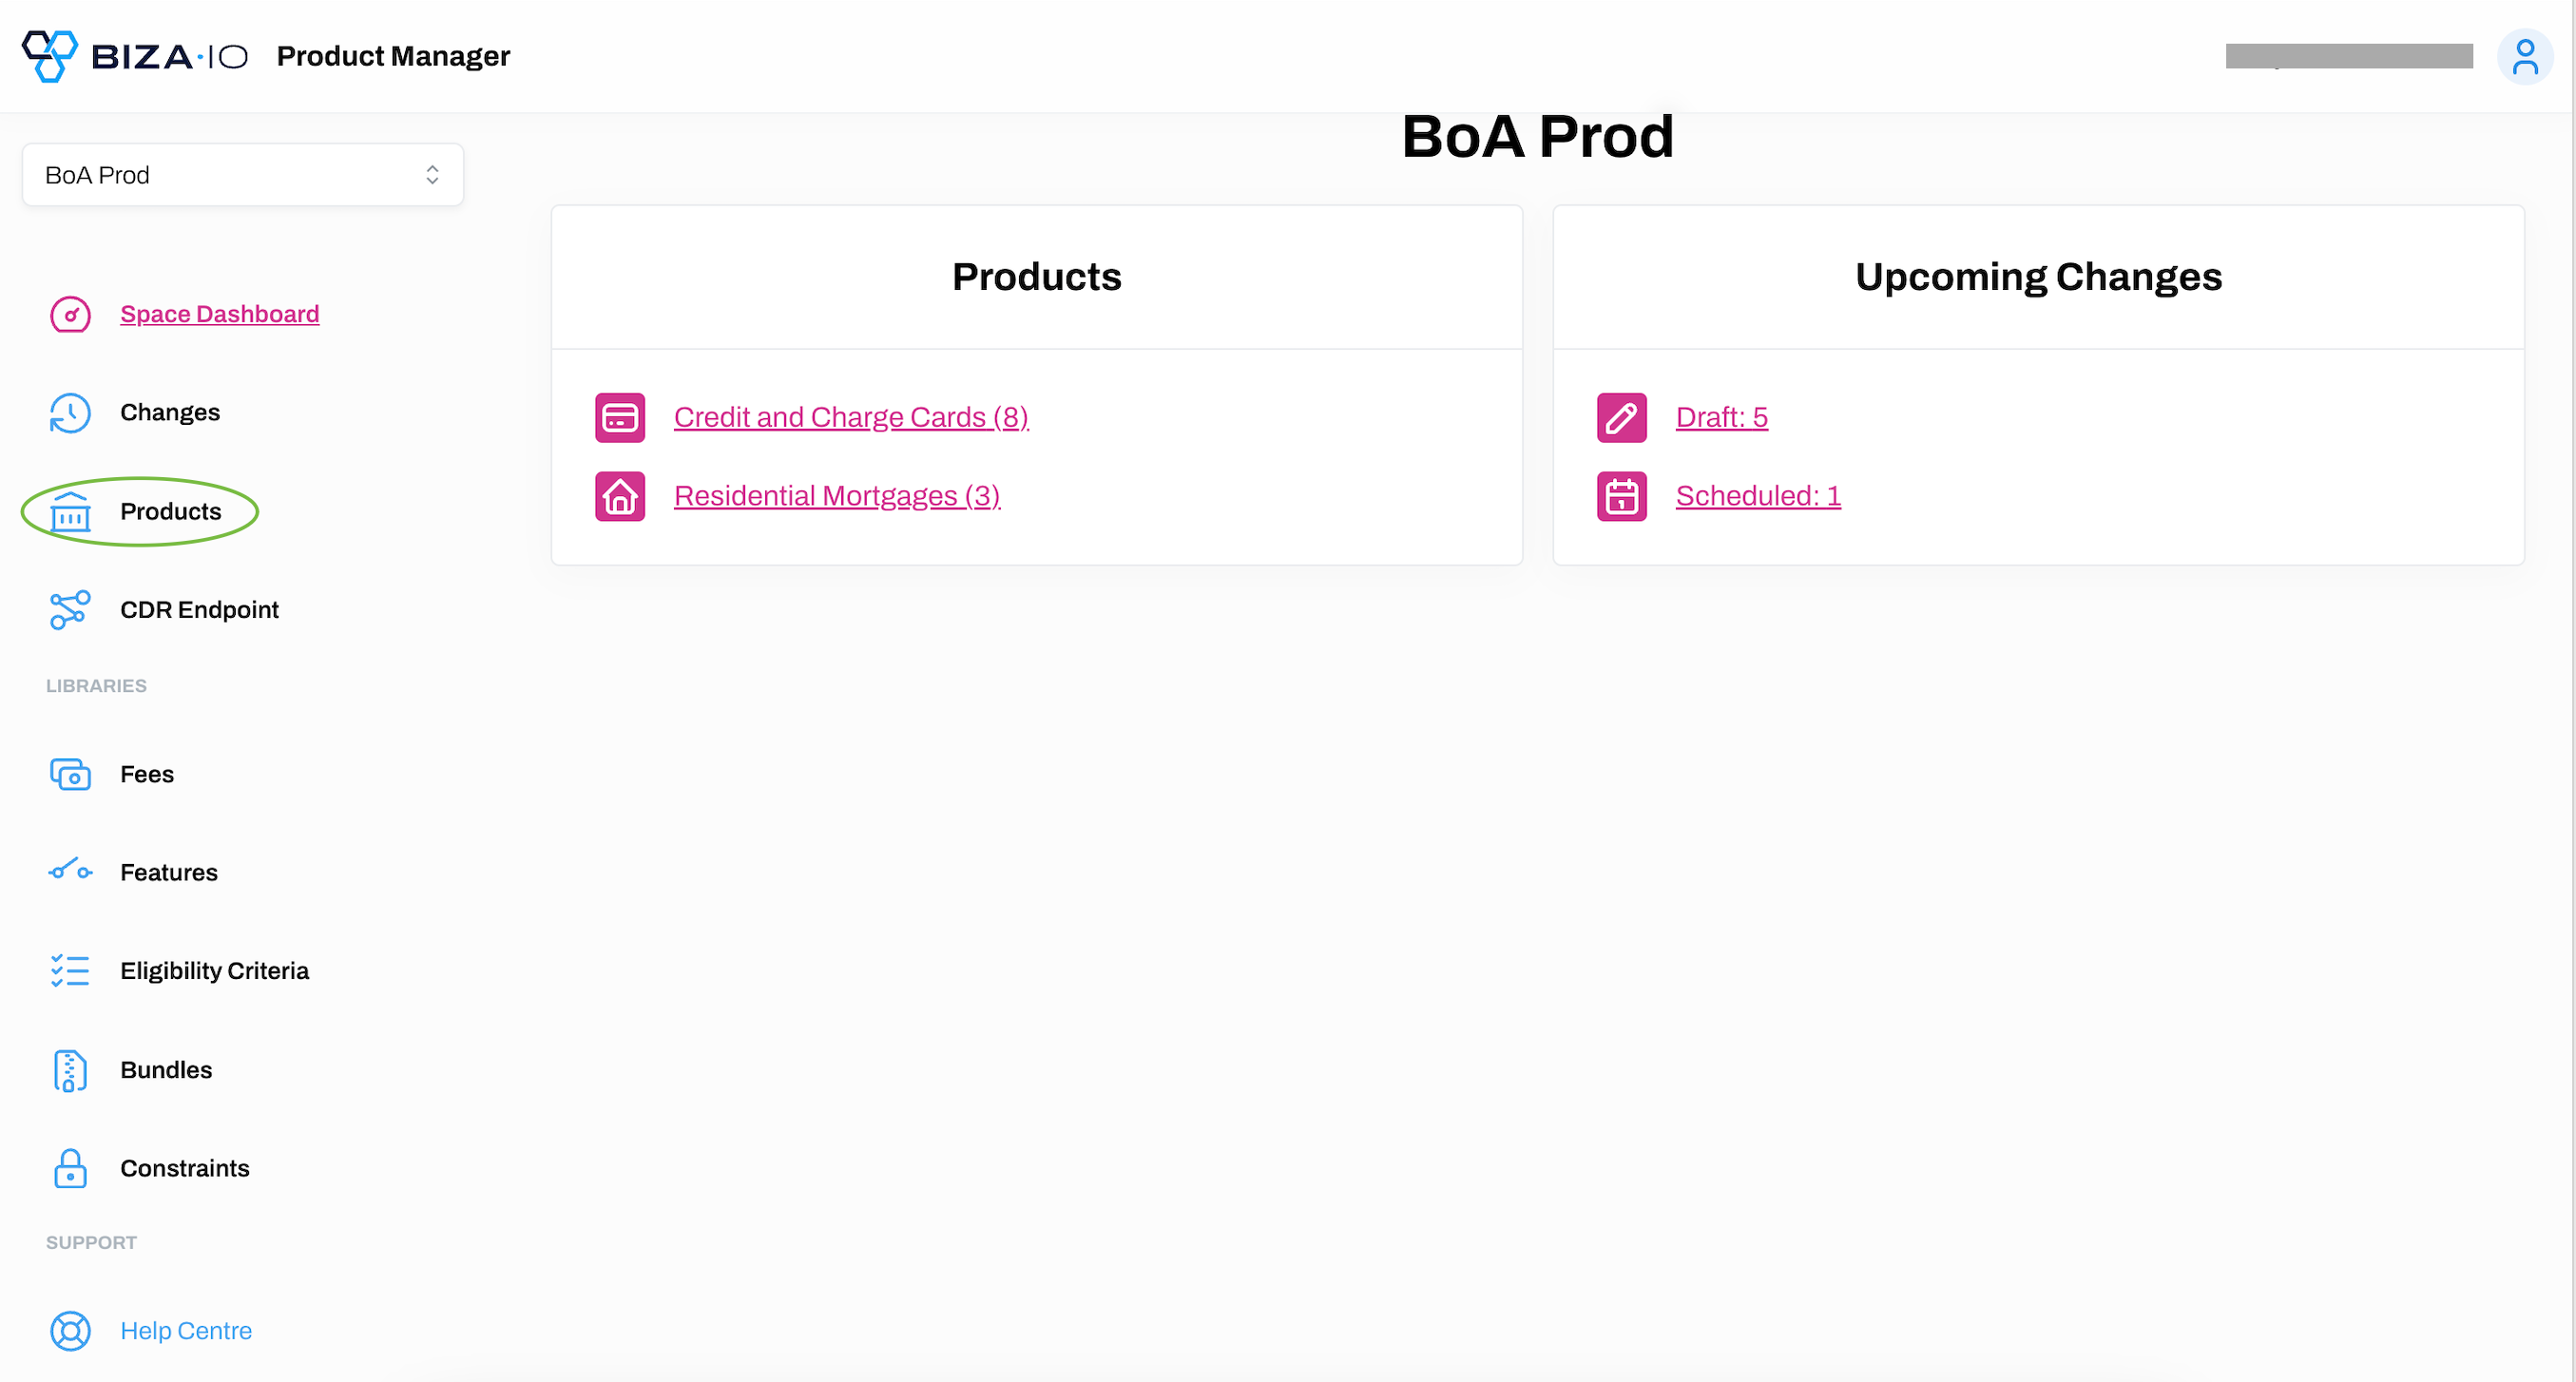
1. Sign in to the PM console and click Products on the main menu.
2. Click Create Product.

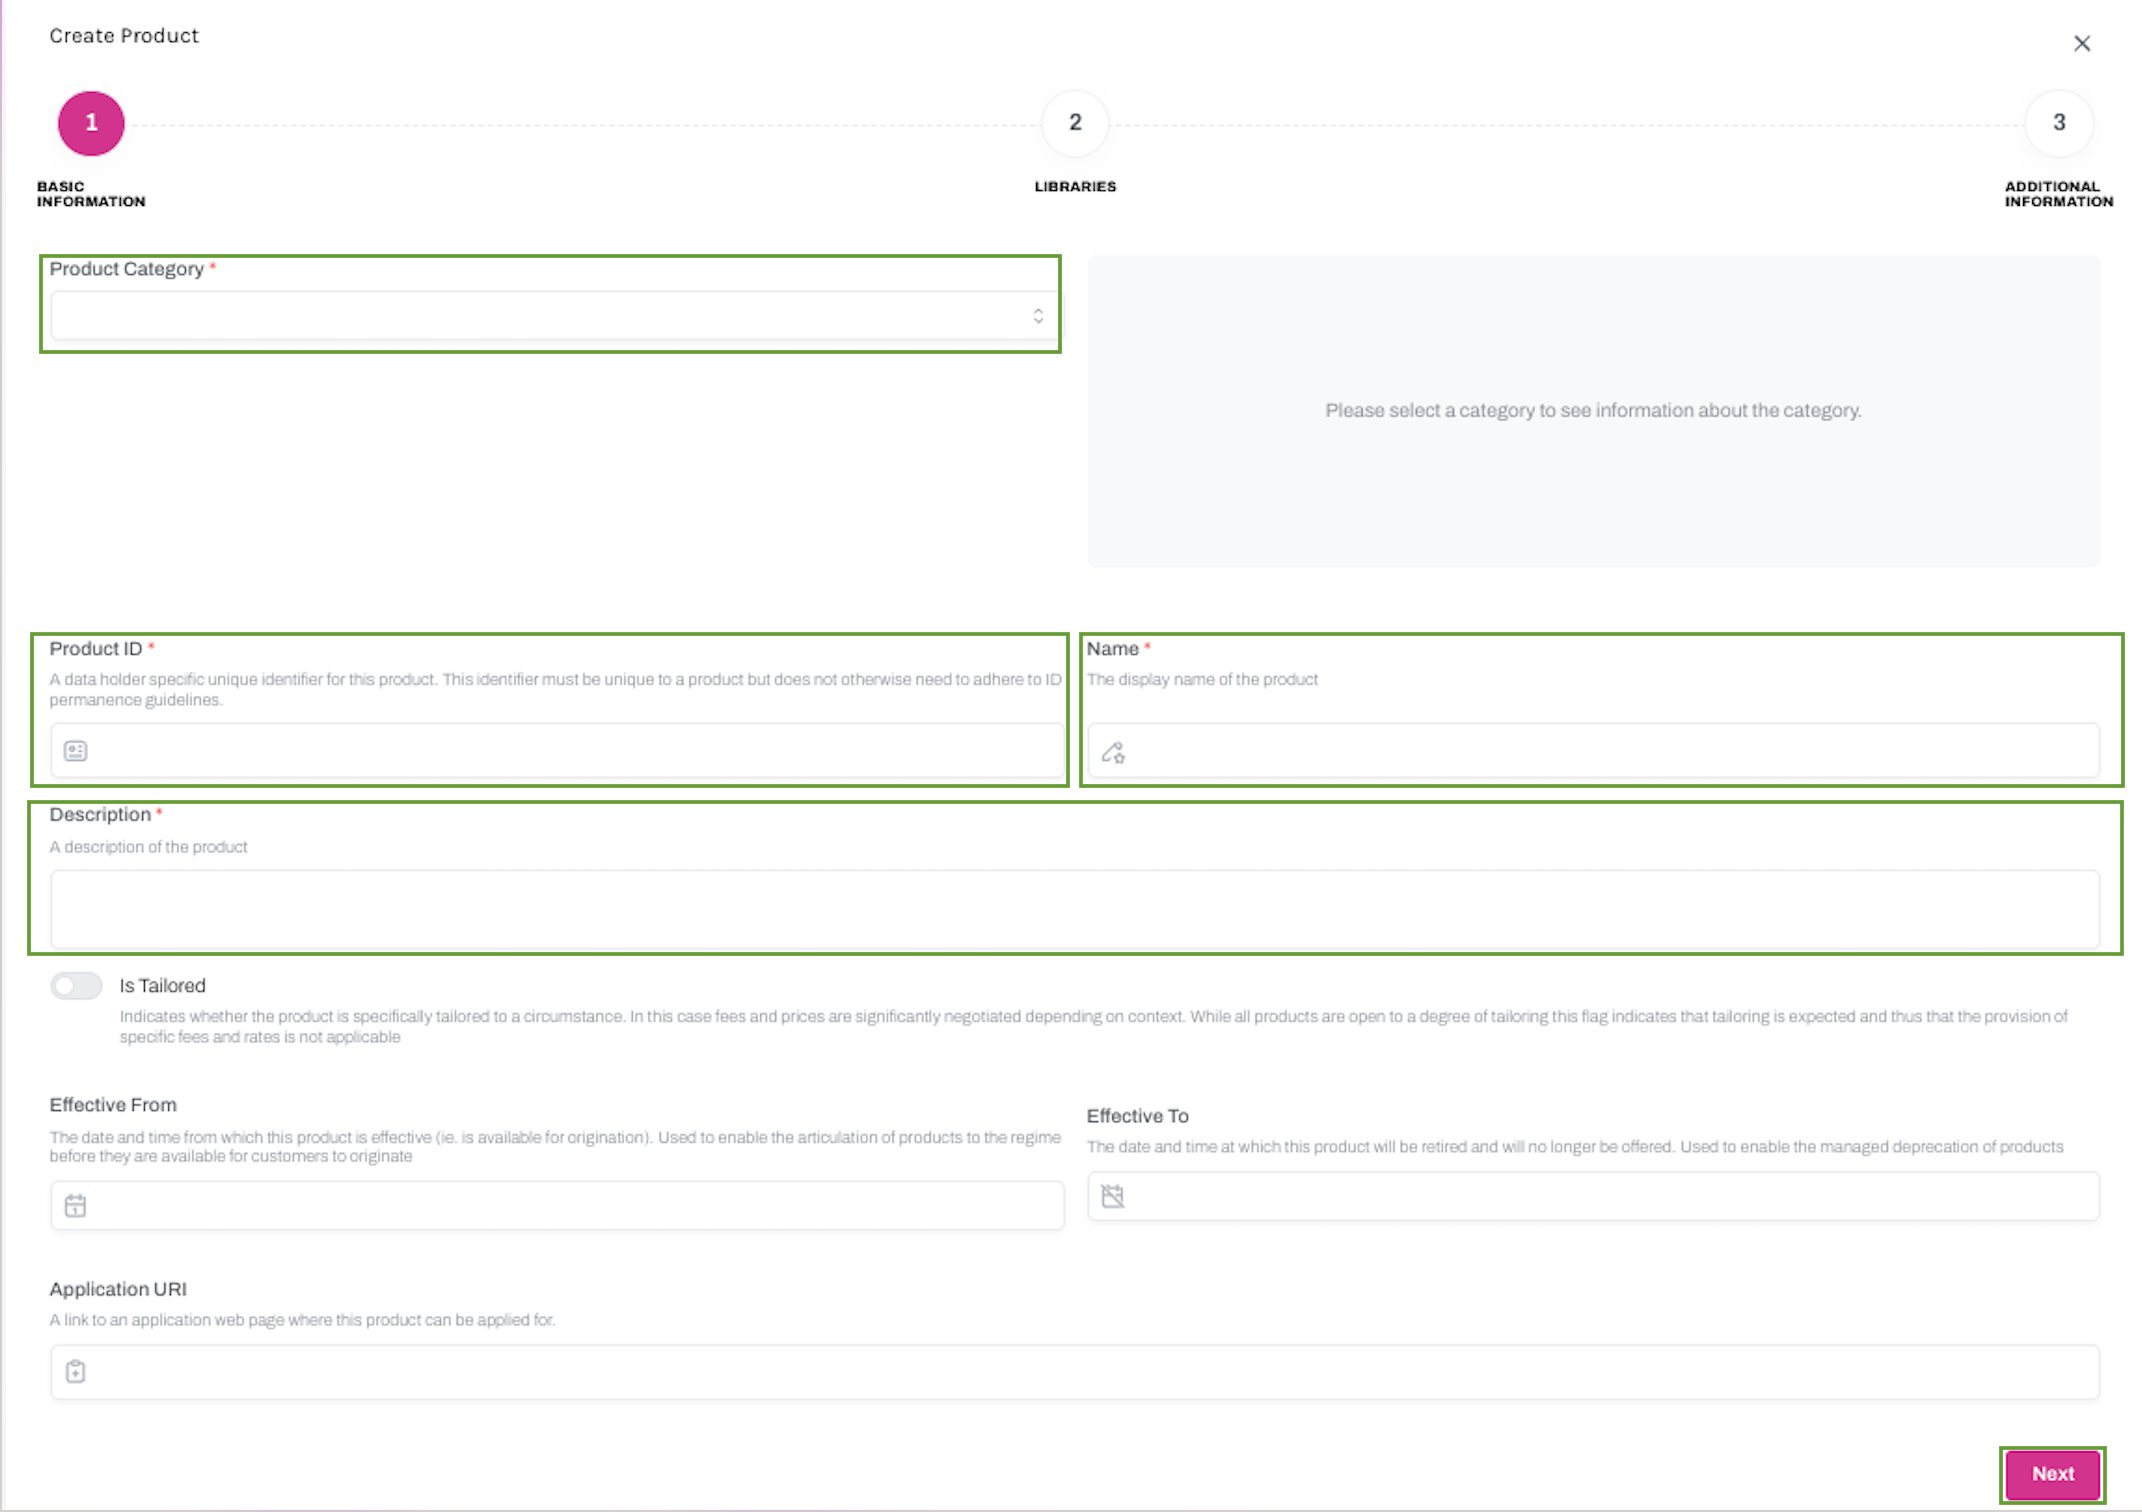
3. Populate the Create Product: Basic Information dialogue box with the following -
-
Select a Product Category from the dropdown menu (e.g., business loan, credit cards and charges, leases, etc). After selecting a category, brief information pertaining to the type of product you are creating will appear in the grey box.
-
Enter a unique Product ID. Note that this is data holder specific, and whilst it must be unique to a product, it does not need to adhere to ID permanence guidelines.
-
Enter the display name of the product in the Name box.
-
Add a description of the product in the Description box.
-
Toggle the Is Tailored button to on if required.
-
[Optional] enter an Effective From and/or Effective To date.
-
[Optional] enter an Application URI link for where the product can be applied for.
-
Click Next when you have entered the mandatory information.
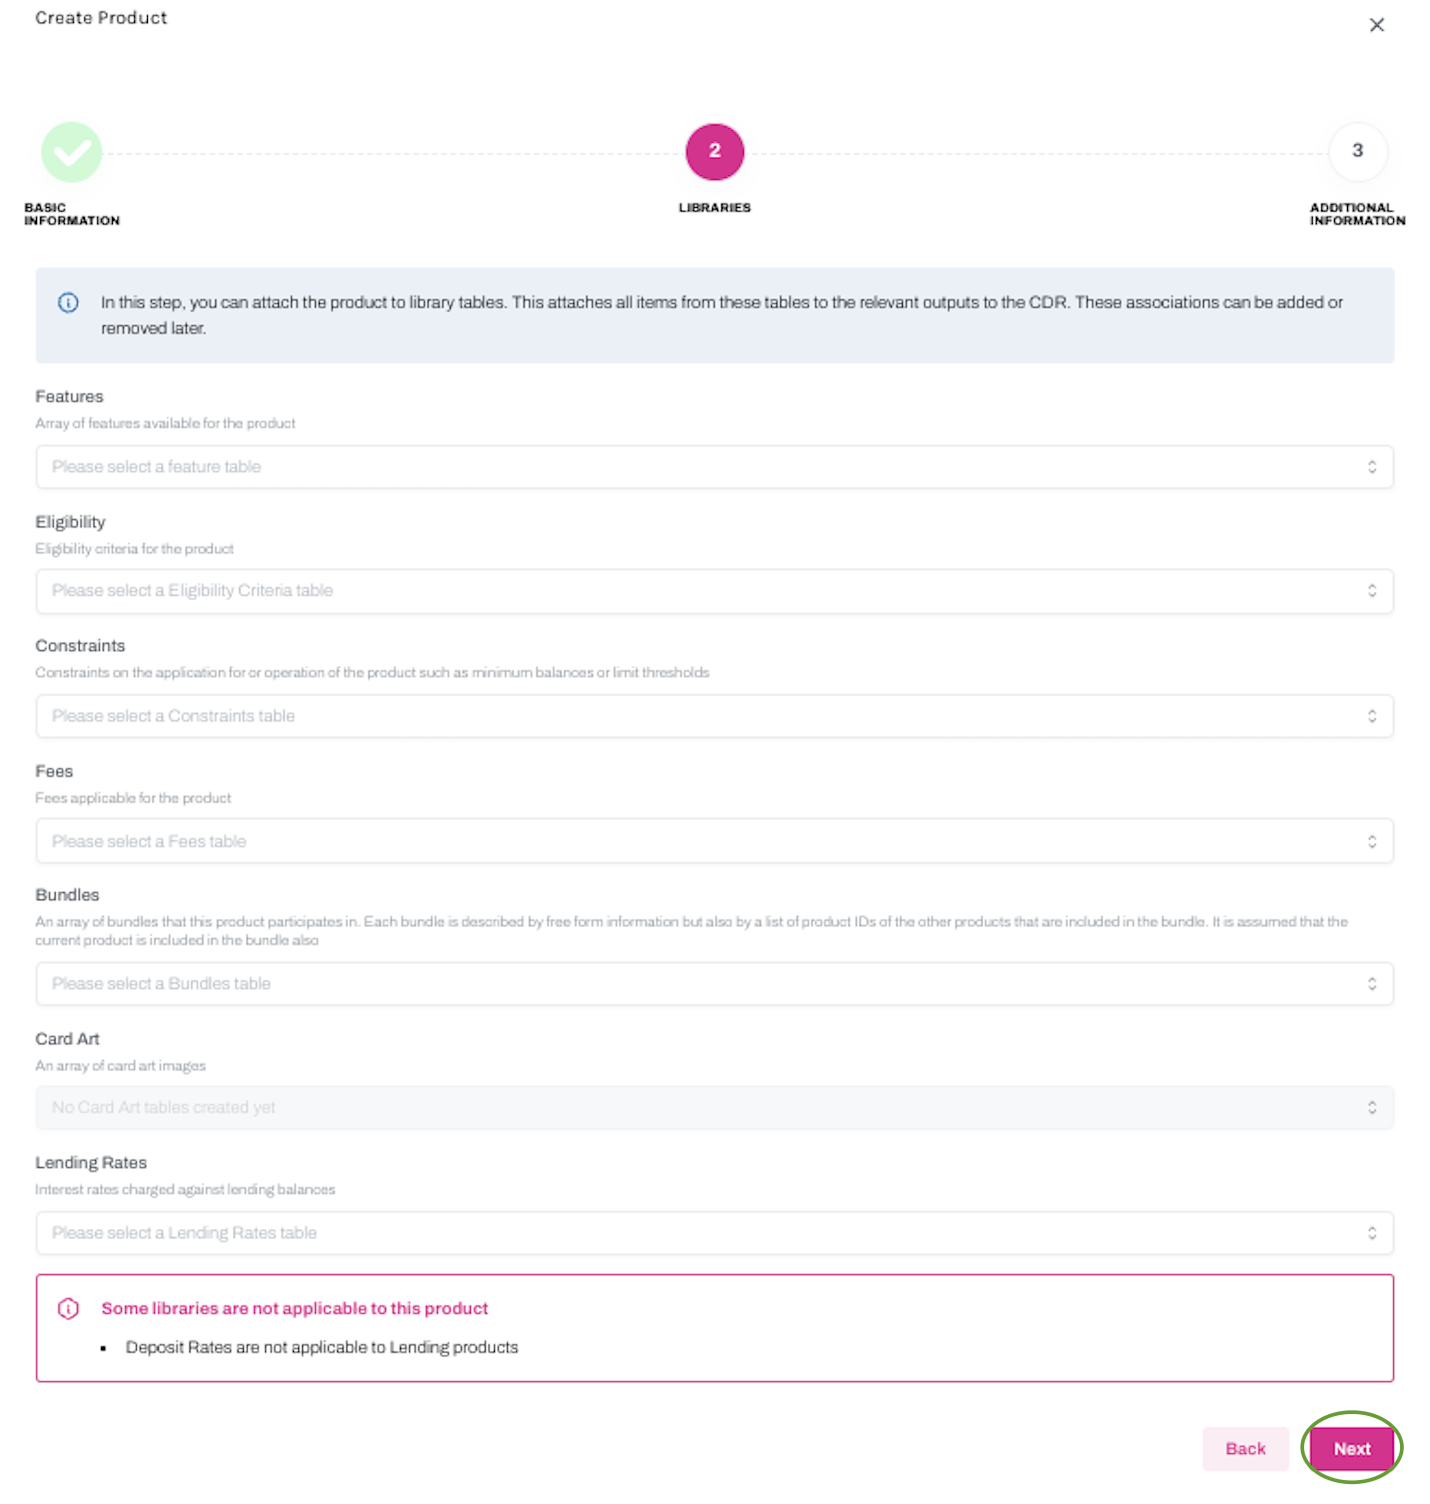
4. You will now see the Create Product: Libraries dialogue box. You have the option of attaching library tables to the product at this point, noting that this attaches all items from these tables to the relevant CDR outputs. The associations to these tables can be added or removed later. If you have already created tables, these will appear in the relevant dropdown menu. Click Next.
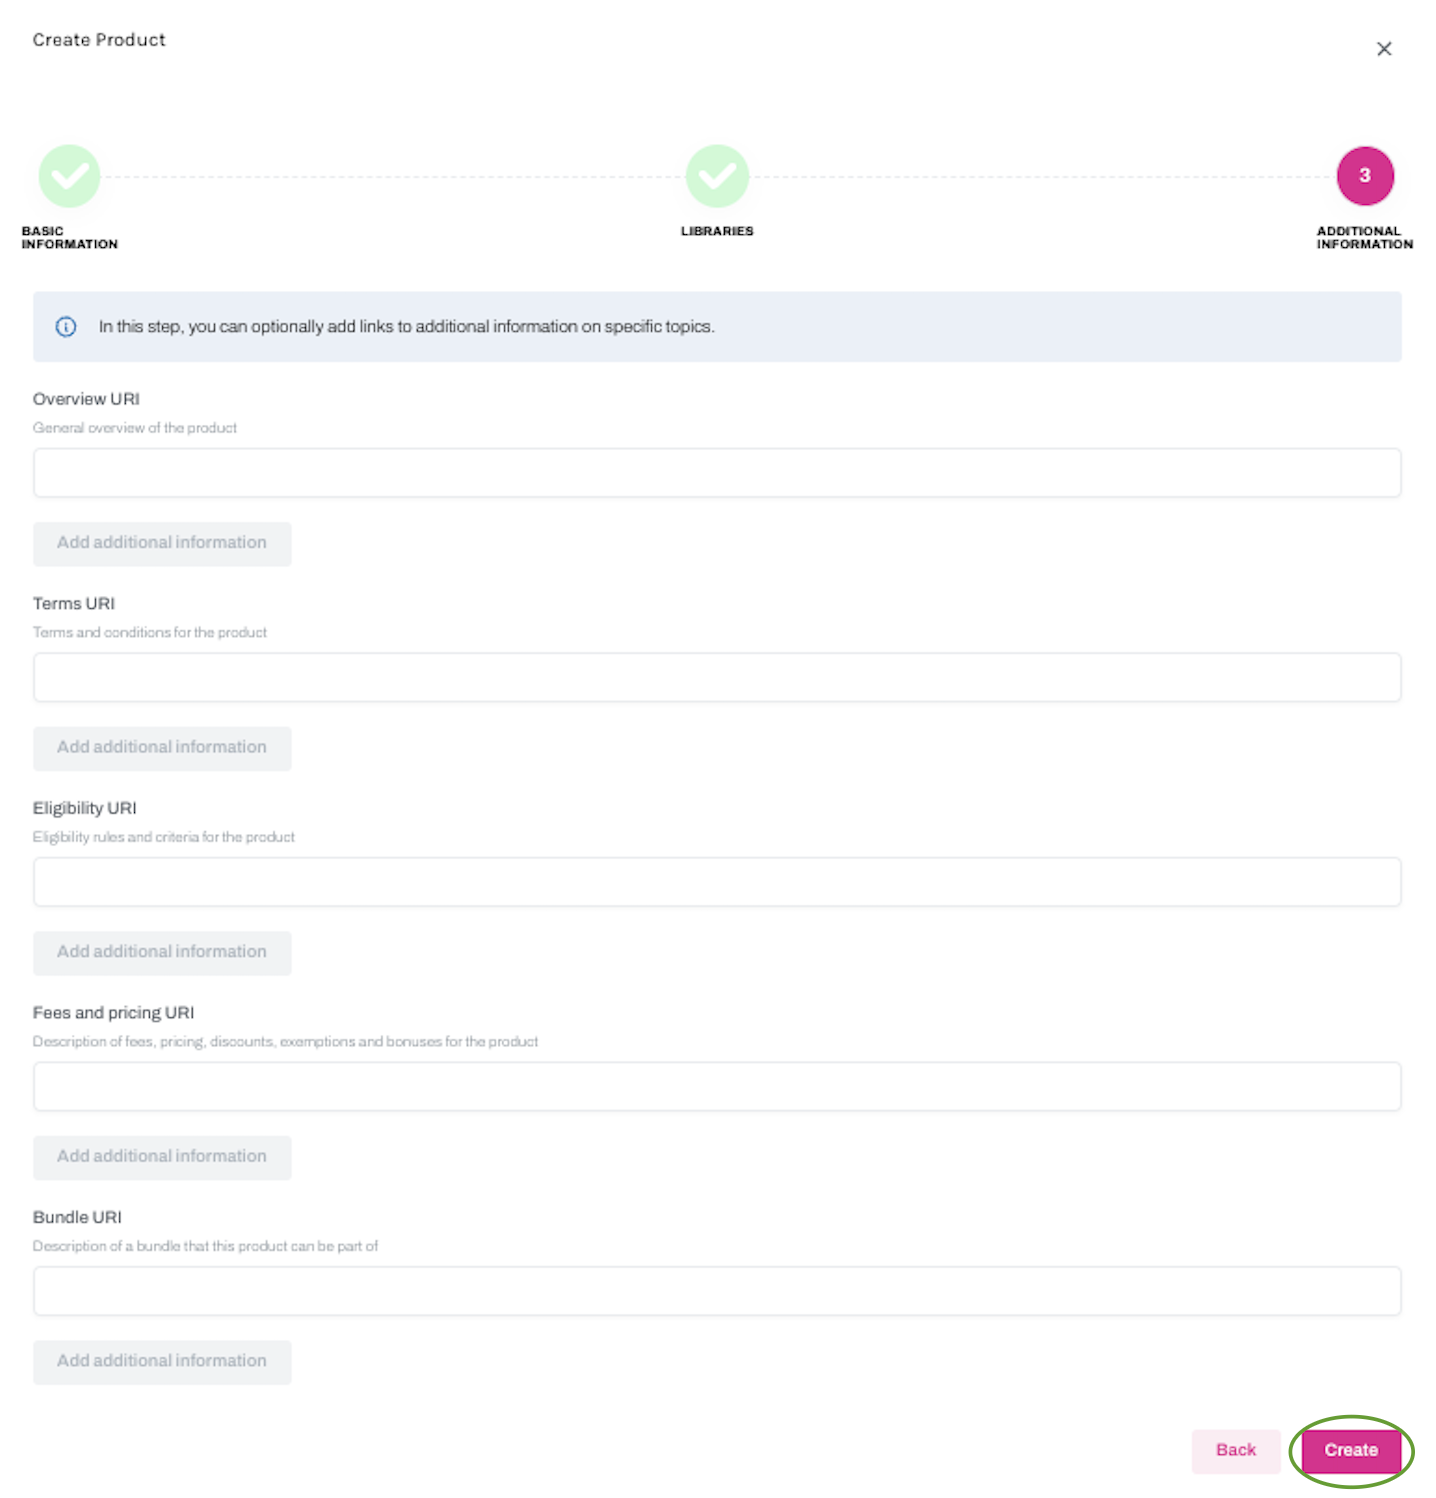
5. You will now see the Create Product: Additional Information dialogue box. Here you have the option of attaching URI’s where additional information about the product can be found. Click Create.
6. Your newly created product will now appear on the Products homepage.